
Industry News
Sliding Table Saw Calibration: The Professional Guide to 0.1mm Precision
In the world of high-end furniture manufacturing, the difference between a high-quality joint and a workshop reject often comes down to less than a millimeter. For owners of industrial machinery, mastering sliding table saw calibration is the only way to ensure consistent 0.1mm precision. A misaligned saw doesn’t just waste material; it compromises the structural integrity of your final product.
Whether you are using the H45 or any other industrial-grade panel saw, regular maintenance is non-negotiable. This technical guide will walk you through the essential steps for squaring sliding table saw units to meet international engineering standards.
Table of Contents
Preparation and Tools for Precision
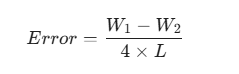
Before you begin the physical adjustments, you must understand that sliding table saw calibration requires high-precision measuring instruments. You cannot rely on a standard tape measure. To achieve industrial-grade results, you should prepare:
- A high-quality dial indicator with a magnetic base.
- A precision machinist’s square.
- Digital calipers (accurate to 0.01mm).
- A clean, stable board for the 5-cut test method.
Proper sliding table saw calibration starts with a clean machine. Sawdust buildup on the carriage rails or the arbor assembly can introduce microscopic errors that translate into visible gaps in your joinery.
The Gold Standard: The 5-Cut Method
The most reliable way to verify wood cutting accuracy is the legendary 5-cut method. This mathematical approach amplifies any alignment errors by four times, making even the smallest deviation easy to detect and correct.
When performing sliding table saw calibration, use a rectangular piece of MDF orplywood, roughly 600mm X 600mm. Rotate the board clockwise after each cut, alwayskeeping the freshly cut edge against the crosscut fence. After the fifth cut, measure the widthof the remaining strip at both ends with your calipers.
The formula for the error per millimeter is:
Where W1 and W2 are the widths of the offcut, and L is the total length of the cut. For aprofessional-grade setup like the H45, your goal is to keep this error under 0.0001mm permillimeter of cut.
How to Calibrate Sliding Table Saw for 0.1mm Precision
Achieving true squareness requires a systematic approach to the machine’s geometry. In the context of sliding table saw calibration, you must focus on the relationship between the sliding carriage and the main blade.
If the 5-cut test reveals an error, you must align table saw fence components accordingly. On the H45, this involves loosening the eccentric locking bolts on the outrigger and micro-adjusting the stop-blocks. Small, incremental changes are better than large adjustments; a half-turn of an adjustment screw can mean the difference between a perfect 90-degree corner and a cumulative error.
Aligning the Crosscut Fence and Outrigger
The outrigger is the heart of your crosscutting capacity. Effective sliding table saw calibration ensures that the crosscut fence remains perpendicular to the blade’s travel path throughout the entire stroke of the carriage.
Check for “heel” or “toe” in the fence. If the fence is not perfectly square, the wood will bind against the back of the blade, leading to burn marks and decreased safety. According to the Architectural Woodwork Institute (AWI) standards for premium grade joinery, the allowable deviation for large-scale panel cutting is extremely tight.
Reference:AWI Quality Standards – Section 400
Rip Fence Parallelism and Blade Alignment
While the sliding table handles the majority of the work, the rip fence must also be perfectlyparallel to the blade. During sliding table saw calibration, we recommend setting the ripfence to be “slightly open” at the back-usually by no more than 0.05mm. This “relief”prevents the workpiece from pinching between the fence and the rising teeth of the blade,which is the leading cause of kickback.
Furthermore, sliding table saw calibration must include a check of the arbor run-out. If the main arbor has more than 0.02mm of lateral movement, no amount of fence adjustment will produce a clean cut.
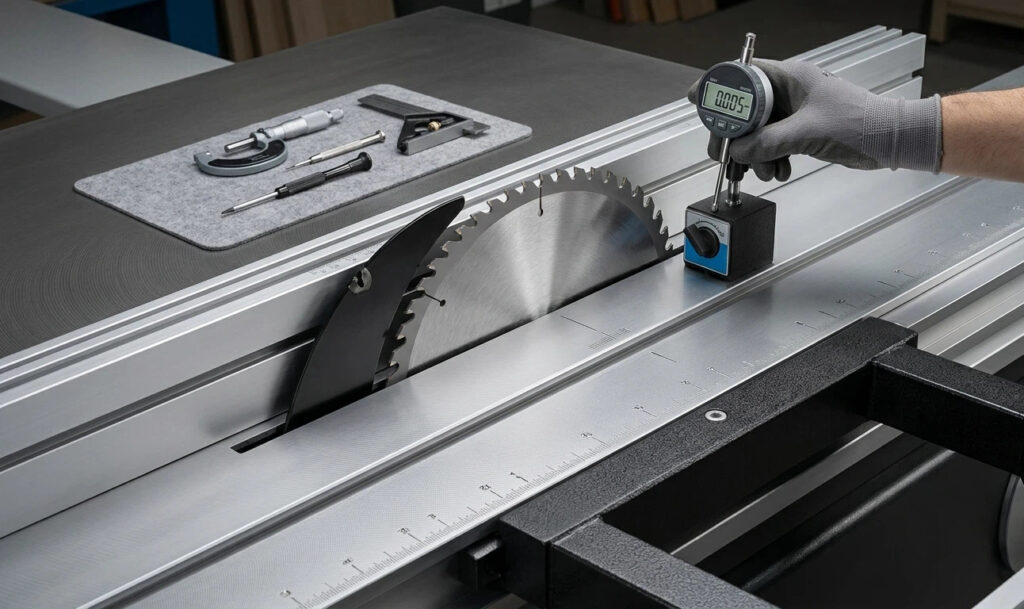
Scoring Blade Alignment and Bottom Chipping
One of the key features of the H45 is its independent scoring motor. However, even the best scoring system is useless without precise sliding table saw calibration. The scoring blade must be perfectly centered with the main blade.
If the scoring path is too narrow, the main blade will chip the bottom veneer. If it is too wide,you will see a small “step” in the cut edge. For the best wood cutting accuracy, the scoringpath should be roughly 0.1mm wider than the main blade’s kerf.
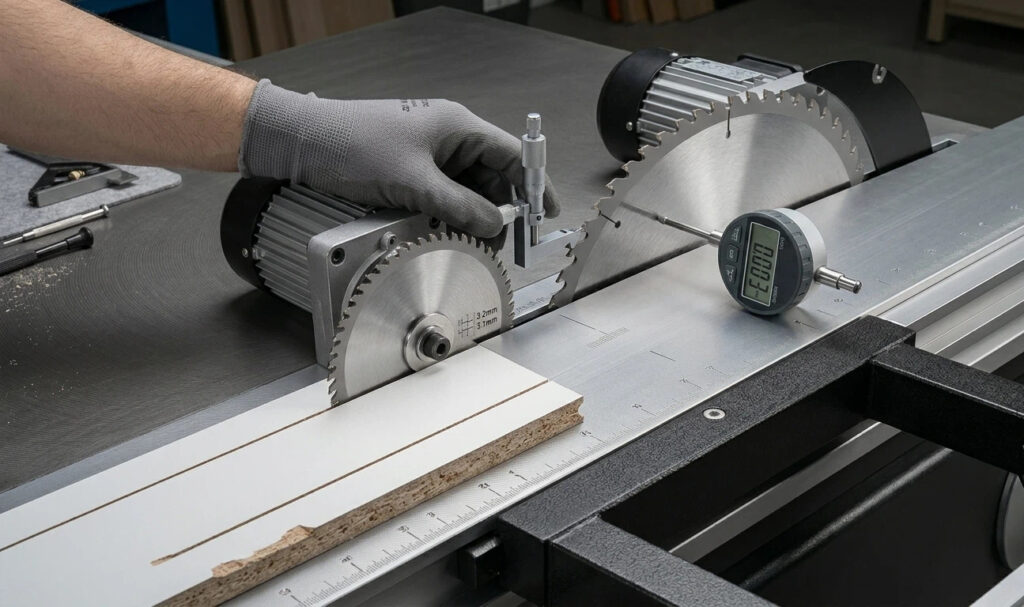
Maintaining the Carriage Rail System
The physical rails—specifically the round bar system used in the H45—require consistent attention. Professional sliding table saw calibration depends on the carriage being perfectly level with the cast iron main table.
We recommend setting the sliding table approximately 0.1mm higher than the fixed table. Thisensures that the workpiece is fully supported by the moving carriage and does not drag on thestationary table, which would introduce friction and potential misalignment during the cut.
Safety Standards and Final Verification
Beyond accuracy, a well-calibrated machine is a safe machine. The Health and Safety Executive (HSE) emphasizes that machinery alignment is a core component of workshop safety. Misaligned fences are a primary cause of binding, which leads to dangerous kickbacks.
Reference:HSE Woodworking Sheet No. 16: Safe use of saw benches
Completing a full sliding table saw calibration should conclude with a final verification cut on a large panel. If the diagonals of the panel are equal within 0.5mm over a 2000mm span, your machine is ready for high-production industrial use.
FAQ
How often should I perform sliding table saw calibration?
For high-volume factories, we recommend a quick check weekly and a full 5-cut method calibration every month, or whenever the machine is moved.
Can I use a standard framing square for calibration?
No. Framing squares are not precise enough for industrial woodworking. Always use a machinist’s square or the 5-cut method for the best results.
Why is my saw still burning the wood after calibration?
This is usually caused by “heel”—where the back of the blade is rubbing against the wood. Re-check the parallelism of your rip fence and ensure the riving knife is aligned with the blade.
Does the H45 require special tools for alignment?
The H45 is designed with accessible adjustment bolts, requiring only standard metric wrenches and a dial indicator for professional-level precision.