
Industry News
DIY Wood Selection for Better Cuts — Stop Chipping, Burrs & Fast Tool Wear
Table of Contents
Good projects start at the lumber rack. Thoughtful DIY wood selection means fewer ruined edges, fewer dull bits, and less sanding. Pick the right species and condition the stock once — you’ll cut cleaner, finish faster, and waste less material.
Why DIY Wood Selection Determines Cut Quality and Tool Life
Choosing stock is the first machining decision. Effective DIY wood selection controls cutting forces, chip formation and tool wear. Denser species need more cutting energy; resinous or silica-bearing woods can gum or abrade cutters. Plan cuts with material in mind and many common issues disappear.
Key Wood Properties DIYers Must Check: Density, Moisture & Grain
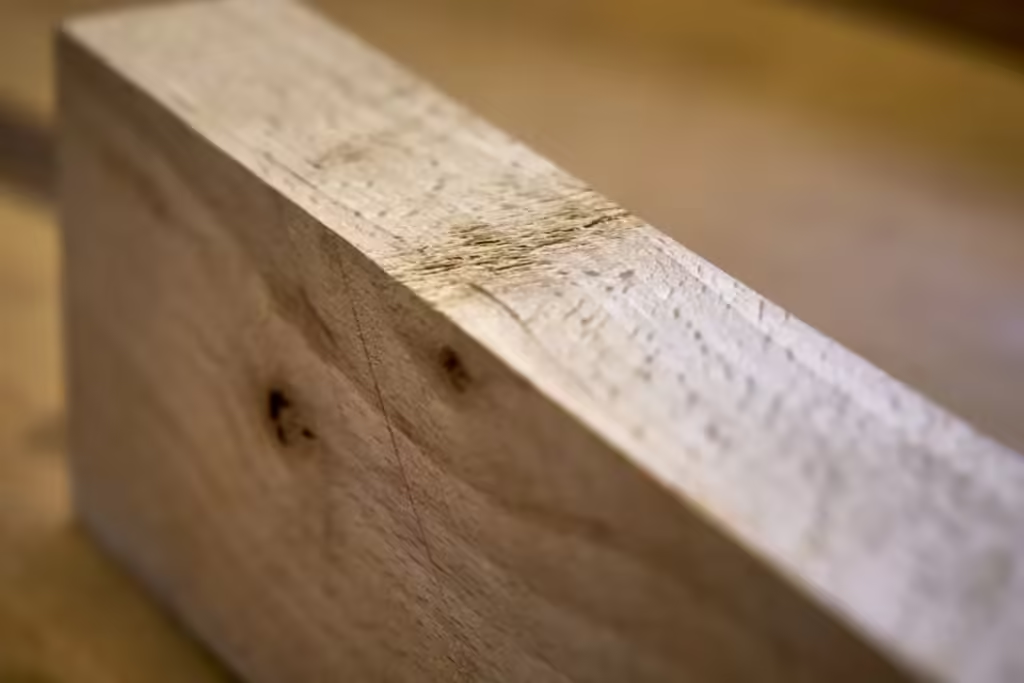
When practicing DIY wood selection, always check density, moisture content and grain orientation. Density (kg/m³) correlates with cutting load. Moisture content affects toughness and fracture behavior. Grain changes the likelihood of tear-out. A quick moisture measurement and visual grain check are high-ROI steps in good shop practice.
Species Guide: Oak, Cherry, Pine, Maple, Cedar — Cutting Behavior & Fixes
Good DIY wood selection includes choosing the right species for your toolset.
- Oak (white / red) — dense, ring-porous; tool wear and chip-out risk. Use solid carbide cutters, slower feed, and multiple light finishing passes.
- Cherry — medium density, excellent finish; minimal tear-out if cut with sharp tools.
- Pine — low density; easy to cut but prone to tear-out and resin buildup — use a backer board and frequent cutter cleaning.
- Maple (hard) — abrasive to cutters; low chip load and carbide tooling recommended.
- Cedar — soft and aromatic; usually easy to machine but check species notes for any silica content that may dull tools.
(See compact species table below for a quick reference.)
Table 1 — Species quick reference
| Species | Typical density | Common DIY issue | First-line fix |
|---|---|---|---|
| Oak | 700–900 kg/m³ | Tool wear, chip-out | Carbide cutters; slow feed |
| Cherry | 500–700 kg/m³ | Good finish | Sharp tools; light finish pass |
| Pine | 350–550 kg/m³ | Tear-out, resin | Backer board; clean cutters |
| Maple (hard) | 700–770 kg/m³ | Abrasive to tools | Shallow passes; carbide |
| Cedar | 350–450 kg/m³ | Possible silica dulling | Carbide; test cut |
This video explains practical tips for DIY wood selection and how different wood raw materials affect cutting quality in home workshops.
Common DIY Cutting Problems and Material-First Solutions
Many problems are material-driven; DIY wood selection helps you predict and solve them before they become costly.
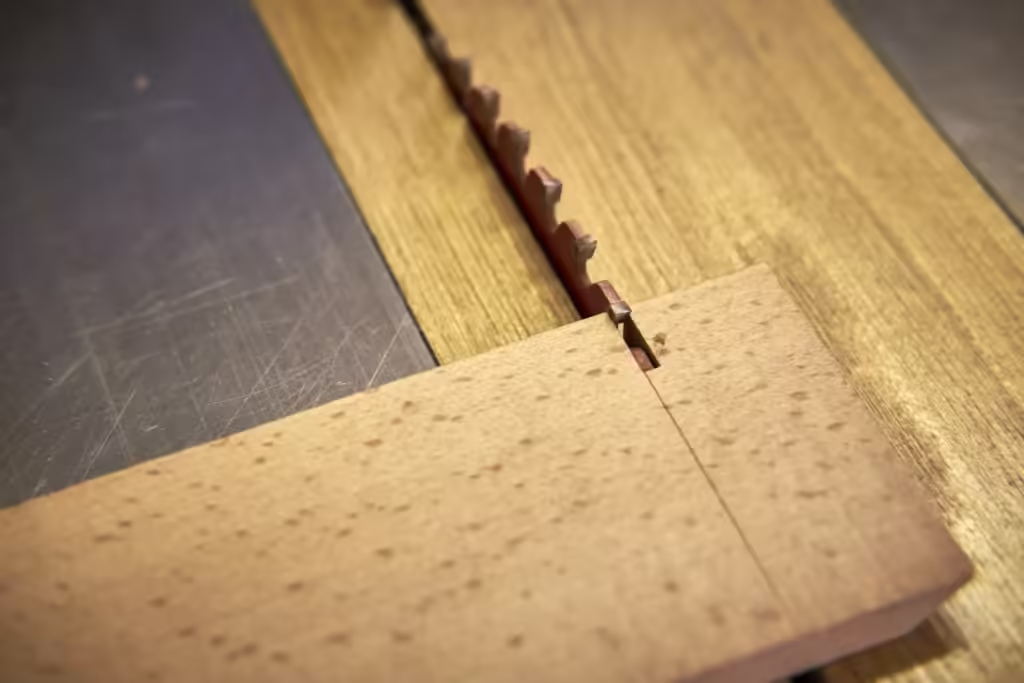
- Chipping / tear-out — caused by open grain, cross-grain cuts, or high feed with blunt cutters. Fix: sacrificial backer board, lower feed, finish pass in the cutter’s favorable direction.
- Burnt edges — from slow feed, high friction, or resin-rich species. Fix: increase feed slightly, keep cutters clean, use air blow to clear chips.
- Burrs and fuzz — typical with low-density or fibrous species. Fix: finer cutter geometry, sanding, or a thin finishing pass.
- Accelerated tool wear — due to silica particles or extractives in certain species. Fix: upgrade to carbide or coated tooling, reduce chip load, and run a short test cut to verify.
These material-first fixes embody the principle behind every effective DIY wood selection workflow.

Tooling & Cutting Parameters by Wood Raw Materials
Tool type, geometry and cutting parameters should be chosen based on your DIY wood selection. Solid carbide is preferred for oak and hard maple. High-speed steel may be OK for pine and cherry if you sharpen often. For plywood and MDF use spiral carbide bits and dust extraction to protect both tools and health.
A short set of starting recommendations (adjust by test cut):
- Softwoods (pine): moderate RPM, moderate feed, HSS or carbide.
- Medium hardwoods (cherry): higher RPM, moderate feed, carbide recommended.
- Dense hardwoods (oak, hard maple): lower feed, multiple passes, solid carbide.
- Plywood / MDF: slower speed, thinner kerf blade, backer board, dust extraction.
Quick Test-Cut Workflow: Embed DIY Wood Selection Into Practice
Simple process every time you get new stock:
1.Select a small scrap from the same board.
2.Record feed, RPM and pass depth.
3.Make a 50–100 mm test cut.
4.Inspect edge for chipping, burn, fuzz and tool wear.
5.Adjust feed, cutter or backing and repeat until the edge is acceptable.
This short habit turns DIY wood selection from guesswork into a reproducible routine.
How Smart DIY Wood Selection Reduces Cost and Rework
Spending a little more on stable, defect-free stock and carbide tooling usually lowers total project cost. Fewer broken bits, less sanding time and fewer wasted panels translate to lower effective cost per finished piece. In short: smarter DIY wood selection is a small upfront investment that pays in time and materials saved.
Table 2 — Problem → Material cause → DIY fix
| Problem | Likely material cause | DIY fix |
|---|---|---|
| Edge chipping on plywood | Veneer separation / cross-grain | Backer board; thin-kerf blade |
| Fast blade dulling | Silica / extractives | Carbide tooling; reduce feed |
| Burnt edges | Resinous wood / low feed | Increase feed; air blow |
| Fuzzy router finish | High grain or wrong pass | Shallow finish pass; fine cutter |
Conclusion
Successful DIY projects rarely start with the first cut—they begin with the right material. Careful DIY wood selection helps control edge quality, reduces tool wear, and minimizes frustrating issues like chipping, fuzz, or burn marks. By understanding how different wood raw materials behave during wood processing, DIYers can make smarter choices before the project even reaches the workbench.
Species such as oak, maple, cherry, pine, and cedar each bring unique cutting characteristics. Matching these materials with the right tooling, feed rates, and simple test cuts allows hobbyists to achieve cleaner results while protecting their tools and reducing wasted stock. In many cases, a few minutes spent evaluating grain direction, density, and moisture content can save hours of sanding or rework later.
For anyone serious about improving workshop efficiency, DIY wood selection should become a regular part of the workflow—right alongside measuring, marking, and tool setup. The more familiar you become with how different woods behave, the easier it becomes to predict results and avoid common cutting problems.
For more related information, please click here.
USDA Forest Products Laboratory — Wood Handbook: Wood as an Engineering Material (comprehensive properties and machining guidance).
DIY FAQ
How to prevent tear-out when cutting softwoods in DIY projects?
Use a sacrificial backer, adjust feed speed, take shallow finishing passes, and orient the cut with the grain — these are core DIY wood selection techniques.
What is the best wood for small DIY furniture that minimizes tool wear?
Medium-density hardwoods like cherry or maple provide a balance of durability and machinability. Combine species choice with carbide or coated bits as part of your DIY wood selection plan.
How does moisture content affect DIY woodworking outcomes?
Wood with too high or low moisture can warp or chip during cutting. Acclimate stock to your shop humidity (target ~6–8%) before finish machining.
Which woods are prone to resin buildup and how to manage it?
Pine and some cedars can produce resin that gums cutters. Prevent by cleaning cutters frequently, lowering feed when necessary, and using backer boards for crosscuts.
How to select wood raw materials for complex DIY projects?
Prioritize straight grain, minimal knots and stable moisture. Always do a test cut on the same board — that single step is central to reliable DIY wood selection.
How to minimize burrs and fuzz when cutting plywood for DIY projects?
Use a backer board, a thin-kerf blade, and the correct feed speed. A finishing trim pass often eliminates remaining fuzz.